- Deploy within VS Error: error occurred in deployment step add solution value cannot be null. parameter name s
- SharePoint 2010 – The form cannot be rendered.
error occurred in deployment step add solution value cannot be null
You may receive this error while you are re-deploying a webpart solution which has laready been deployed which stops you from completing a successful deployment. The resolution for that is to disable the property called 'Deployment Conflict Resolution' from the webpart property list by setting to 'None'.
SharePoint 2010 – The form cannot be rendered.
If you have just installed your SharePoint 2010 or just created new site collection with a publishing site as the top-level site for this site collection and want to publish a new change to any page of the site, you may encounter following SharePoint error message:
SharePoint 2010 – The form cannot be rendered. This may be due to a misconfiguration of the Microsoft SharePoint Server State Service. For more information, contact your server administrator.
This error message will look like the image below:
I have found the resolution for this error using this article. Thanks to this article my problem was solved. I am repeating the resolution steps here plus my own experience logs:
- On the Taskbar, click Start, point to Administrative Tools, and then click Windows PowerShell Modules.
- In Windows PowerShell, create a service application by typing
$serviceApp = New-SPStateServiceApplication -Name “State Service”
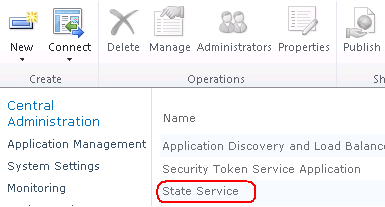
By running this command a new Service Application will be added to the Service Application list on Central Admin. You can check it out by going to the Central Admin > Application Management > [In service Application Section] Manage Service Application. You will see this service application listed as below:
- Create a State Service database and associate it with a service application, by typing New-SPStateServiceDatabase -Name ”StateServiceDatabase” -ServiceApplication $serviceApp.
This command will add a new database to the database server. If you browse SharePoint related databases on the server after running this command successfully you can see a database added to the
existing ones as below:

- Create a State Service Application Proxy and associate it with the service application by typing New-SPStateServiceApplicationProxy -Name ”State Service” -ServiceApplication $serviceApp -DefaultProxyGroup.
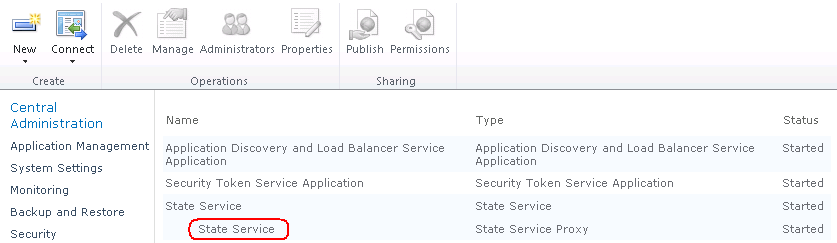
By Running this command a new Service Application Proxy will be created right under State Service that your created previously. To find this Service Proxy you need to follow the steps in step 2 and the you will see the image below:

After doing all described above successfully, this is the perfect time to get back to you SharePoint site and retry publishing new changes and follow the approval process/workflow.